


Learn how to craft the signature widescreen, flare-heavy cinematic feel using old lenses and affordable anamorphic adapters — no blockbuster budget required.
What Is the Anamorphic Look and Why It’s so Cinematic
In this section, you’ll understand what “anamorphic” truly means—and why it transforms your visuals from standard video to cinematic film.
The anamorphic look comes from lenses that squeeze wider images onto standard sensors or film frames. When desqueezed in post, you get that elongated, widescreen ratio with distinctive horizontal flares and squashy oval bokeh. These optical quirks are why epic films often look, well, epic.
The first time I saw a classic widescreen adventure on a big screen, I couldn’t unsee the difference—sunlight stretching across the frame, faces subtly curved, backgrounds breathing with cinematic tension. That curiosity became the spark to chase the same energy using second-hand gear.

Adapters replicate this transformation by layering specialized optics in front of your vintage prime lens, allowing you to access wide cinematic framing without needing a costly anamorphic cinema lens.
Finding the Right Vintage Lens for Your Anamorphic Setup
Here you’ll learn to pair old lenses with the right adapter—balancing focal length, vintage charm, and mechanical compatibility.
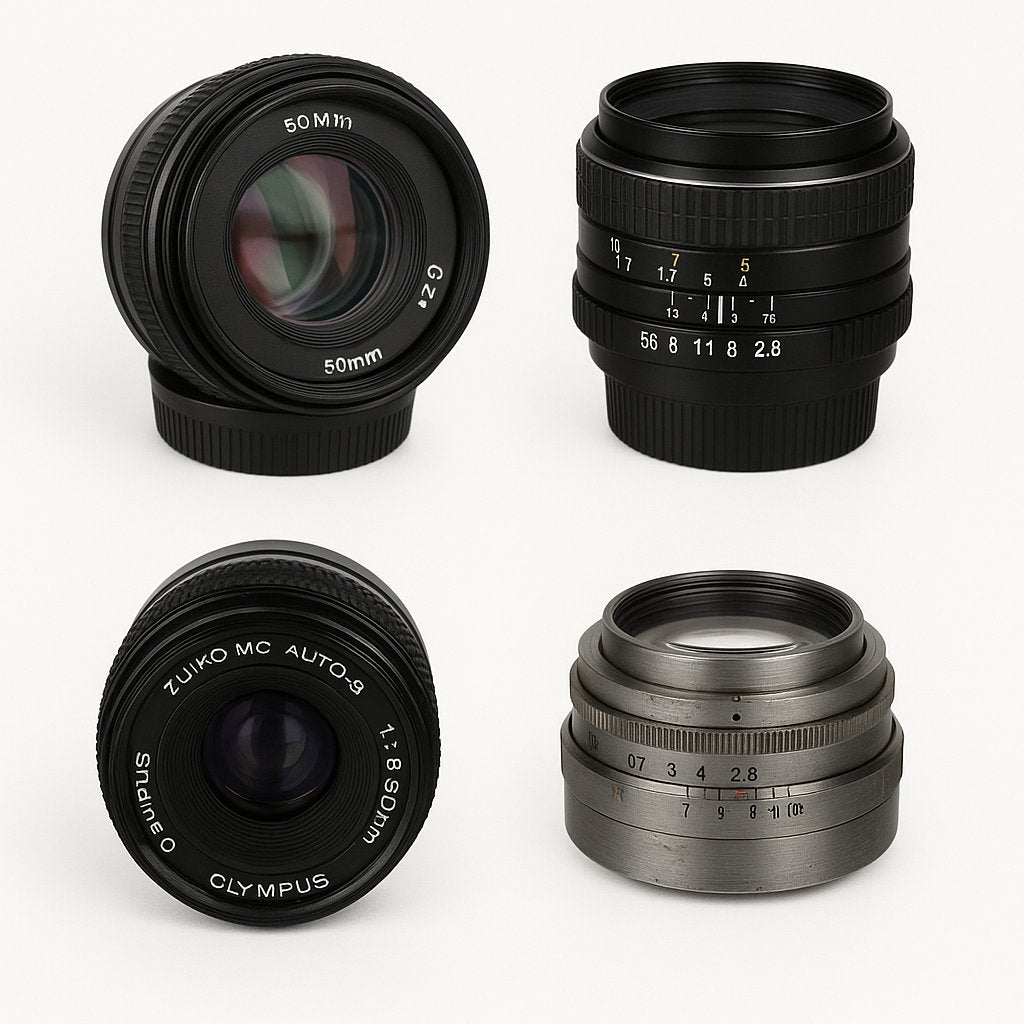
Classic 50mm or 85mm prime lenses from legacy manufacturers make excellent “taking lenses.” They strike a sweet spot between sharpness and manageable front diameters, perfect for mounting affordable anamorphic adapters.

I once scavenged a fogged-up 58mm lens at a flea market. A weekend of careful cleaning turned it into my favorite anamorphic partner—soft corners, smooth focus, and the kind of glow digital optics often sterilize away.
- Check for clean glass—minor dust is fine, but haze or fungus ruins contrast.
- Ensure smooth focusing and aperture control; stiffness often worsens under adapter weight.
- Confirm mount compatibility with your camera body using proper adapters.
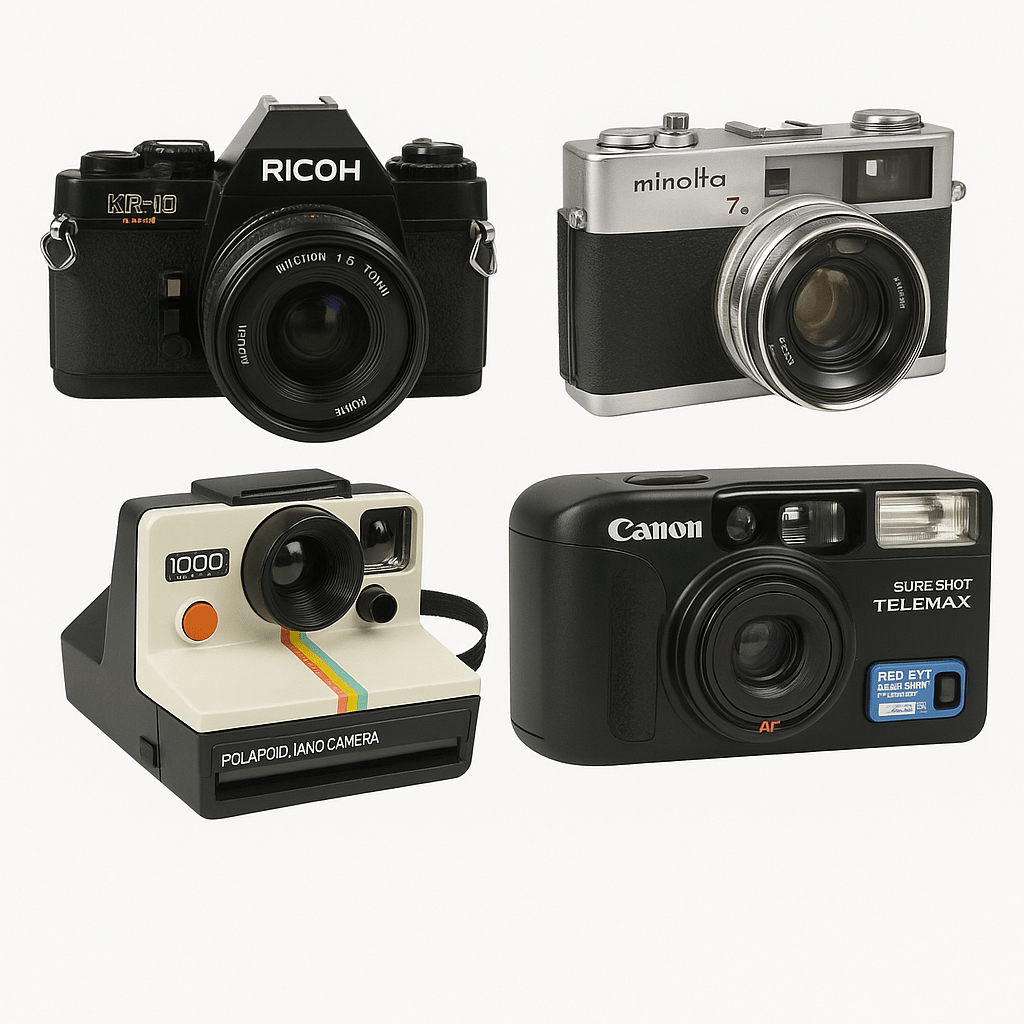
For ideas, Explore our collection of vintage camera lenses that complement modern digital sensors beautifully.
How to Mount and Align an Anamorphic Adapter on Old Lenses
This part walks you through the practical setup—from threading the adapter to achieving proper alignment and sharpness.
- Verify your adapter’s thread size matches your taking lens using step rings if needed.
- Attach the adapter tightly yet carefully to avoid cross-threading.
- Use the engraved or marked alignment line to keep the anamorphic axis level to the horizon.
- Focus the taking lens first, then the adapter (dual focus systems need patience).
- Perform quick test shots and check for even sharpness across the center.

During my first anamorphic test, I didn’t notice the adapter had rotated slightly off-axis. Every horizon looked like a rollercoaster. Two minutes with a small bubble level fixed everything—and I’ve aligned meticulously ever since.
Comparing Vintage Lens Character vs. Adapter Effects
Here you’ll compare how old lens quirks and adapter choices combine to craft your final image character.
Vintage lenses bring organic distortion, soft roll-off, and warm contrast. Meanwhile, adapters control the squeeze ratio—typically 1.33x, 1.5x, or 2x—which affects aspect ratio and flare intensity. Blend them thoughtfully for your creative direction.

Let’s look at common combinations and their results:
| Name | Best for | Spec / Squeeze | Look / Result | Usability | Notes |
|---|---|---|---|---|---|
| Helios 44-2 + 1.5x Adapter | Dreamy bokeh, flares | 1.5x | Swirly background, pronounced stretch | Moderate tuning | Affordable; focus carefulness required |
| Canon FD 50mm + 1.33x Adapter | Balanced cinematic look | 1.33x | Subtle flares, mild distortion | Easy handling | Great for run-and-gun video |
| Takumar 85mm + 2x Adapter | Epic widescreen drama | 2x | High stretch, narrow field | Better tripod use | Ideal for narrative shots |
Pros
- Distinct optical personality impossible to fake digitally.
- Full control over creative imperfection and flare strength.
- Affordable experimentation with different combinations.
Cons
- Dual focusing and alignment add complexity.
- Some setups vignette or lose sharpness at edges.
- Adapters vary in coating quality and flare color.
Cinematic Results on a Budget: Tips to Maximize the Look
This final section offers practical tricks for finishing your footage and stretching production value further.
- Shoot during golden hour—anamorphic flares love directional sunlight.
- Capture natural flares in-camera rather than adding them later.
- Balance softness and contrast during color grading to preserve vintage charm.
Composition is equally crucial: frame wider than you need, leaving space for slight desqueeze artifacts and subtle cropping. A well-balanced exposure flatters the imperfect glass, letting highlights bloom naturally.
Imagine building a short scene armed only with a second-hand camera, a classic 50mm lens, and a cheap adapter. With smart light, improvised bounce cards, and patience, you’ll be amazed by how “cinema” suddenly feels within reach.
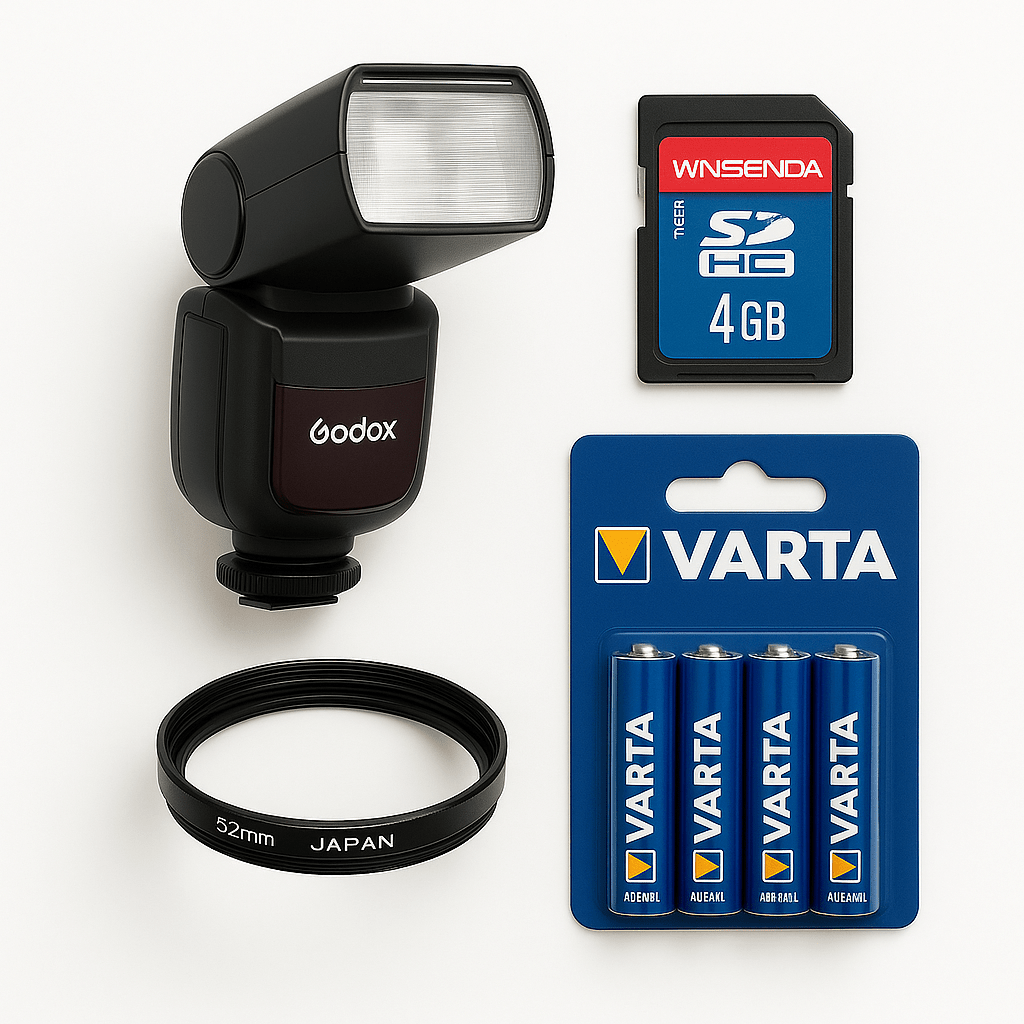
Round out your kit: Browse photography accessories for your lens setup for filters and cleaning tools that preserve your gear’s lifespan.
Quick Decision Guide
- Choose 1.33x adapters for subtle widescreen and easy editing.
- Go with 1.5x or 2x if you crave maximum dramatic stretch.
- Pick 50–58mm lenses for everyday handheld setups.
- Try 85mm lenses for portraits and dreamy compression.
- If sustainability matters, buy second-hand and refurbish—your wallet and planet will thank you.
FAQs
What old lenses work best with anamorphic adapters?
Many 50mm to 85mm vintage prime lenses work well because their central optics stay sharp while edges provide organic texture. Look for durable mechanical builds with smooth focus.
How can I achieve an anamorphic look on a budget?
Pair an affordable anamorphic adapter with a compatible vintage lens. Combine this with letterboxing, controlled lighting, and gentle grading to reinforce the cinematic impression.
Are vintage lenses good for anamorphic shooting?
Yes—vintage lenses naturally enhance the anamorphic character with subtle softness and genuine flare colors, giving footage a nostalgic vibe hard to replicate digitally.
How to adapt old camera lenses for anamorphic effects?
Use proper step rings to match thread sizes, align the adapter axis precisely, and focus both elements carefully. Consistent testing ensures optimal sharpness and squeeze accuracy.
Start Your Cinematic Journey
Find your ideal vintage lens and start shooting anamorphic today.