


A practical, sustainable guide to remove fungus from old lenses—when to DIY, when to go pro, and how to keep it gone.
What lens fungus is, how it spreads, and what it damages
In this section, you’ll learn how to identify lens fungus, tell it from other issues, and understand the risks.

Lens fungus is a fungal growth on or inside lens elements that feeds on organic residues like dust, oils, and old grease. You’ll see web-like threads, spotty colonies, or an even haze, often starting near edges where moisture lingers.
- Differentiate fungus: webby threads/spots vs.
- Haze: uniform fog that lifts slowly (often lubricant outgassing).
- Balsam separation: rainbow/iridescent edges in cemented groups.
Damage spectrum matters: surface growth can often be removed; long-standing fungus can etch coatings or pit glass—cleaning will stop growth, but it can’t reverse etching.
Fungus thrives in high humidity, darkness, and on organic residue. Storage choices—like damp leather cases or sealed bags with moisture—accelerate problems.
Anecdote: I once found a spiderweb pattern in a thrifted 50mm. Wide open, images looked dreamy with veiling flare. Stopped down, contrast improved, but fine detail still felt muted—etched coatings don’t heal.
DIY vs professional cleaning in 2025: quick decision guide
Here, you’ll quickly decide whether to DIY or hire a pro based on risk, access, and value.

DIY is viable for mild growth on accessible front/rear elements. Go pro if you suspect internal growth near aperture blades, fungus between cemented groups, or if the lens is valuable or collectible.
What’s new in 2025: affordable dry cabinets and USB microscopes help DIY inspection; repair shops now lean on controlled UV sterilization, ultrasonic parts cleaning, and clean benches for consistent results. Sustainability-wise, saving an old lens beats replacement—if you manage risks.
- Is the fungus only on exposed front/rear surfaces?
- Do you have proper tools and a dust-controlled workspace?
- Can you accept potential loss of resale value if DIY marks coatings?
- Is the lens collectible or high-value (favor professional)?
- Are parts and service info available for this model?
Quick Decision
- Pick DIY: light threads on front/rear glass, you own a loupe, and you can store the lens dry afterward.
- Pick Pro: internal webs near aperture, stiff focus (needs re-lube), or any rare glass.
- Pick Creative Reuse: after cleaning, etched coatings still flare—embrace the look.
- Unsure? Get a diagnostic from a repair shop; many offer inspection-based estimates.
Pros
- DIY: low cost, instant action, learning experience.
- Professional: deeper access, alignment checks, warranty options.
Cons
- DIY: risk of scratches, coating lift, or dust ingress.
- Professional: higher cost tier, turnaround time, parts dependency.
DIY fungus removal: step-by-step for mild cases
You’ll get a safe, minimal-risk workflow for accessible fungus, plus clear stop signs.

Work clean, start non-invasive, and stop if you see signs of coating or cement damage.
Checklist: Tools
- Blower, lens tissues/microfiber, lens cleaning fluid or high-purity isopropyl alcohol
- Cotton swabs/PEC swabs, nitrile gloves, soft brush
- Headlamp, loupe/USB microscope
- Silica gel or dry box
Checklist: Workspace
- Clean table, anti-static mat, parts trays, good light
Procedure
- Inspect with a loupe; confirm fungus vs dust/haze.
- Remove front/rear caps and filters; clean filters separately.
- Gently blow off dust; brush edges.
- Dampen swab (never soak); wipe in arcs from center out, minimal pressure.
- Repeat with fresh swabs; avoid re-depositing spores.
- Dry in a low-humidity box with fresh desiccant.
- Optional: brief post-clean UV exposure; avoid heating the lens.
Red flags to stop
- Cloudiness between elements, oil near aperture
- Rainbow sheens lifting (coating damage)
- Resistance when attempting any disassembly
Anecdote: Under a loupe, a “fungus web” once turned into simple cleaning streaks after a gentle, dampened pass. The giveaway? Streaks aligned with my wipe direction and vanished on a second, dry pass.
When professional cleaning makes sense (and what to expect)
This section explains when to hire a technician and what their process includes.
Choose a pro when growth sits near aperture blades, behind cemented groups, or after DIY fails. Shops perform partial or full teardowns, ultrasonic clean metal parts, apply controlled UV sterilization, re-lubricate helicoids, then reassemble at a clean bench and dry under controlled humidity. Turnaround varies by shop and parts availability; many offer a work warranty.
In 2025, costs sit in tiers: simple external cleans are the lowest; internal fungus near aperture or cemented groups rises to mid/high tiers. Weigh expected optical gain against market and sentimental value.
- Ask a shop: methods used (ultrasonic, clean bench, controlled UV)
- Do they test for decentering and focus after reassembly?
- Is there a work warranty?
- Estimate range by severity and complexity (inspection required)
Compare results: DIY vs pro—what ‘success’ looks like
Learn how to evaluate results, detect permanent damage, and test your lens after cleaning.

DIY success looks like visible reduction of threads on accessible surfaces, minimal new marks, and better contrast. Professional success clears internal elements, keeps the aperture dry and snappy, and returns accurate focus/infinity without decentering. Permanent etching may still cause veiling flare in strong light.
Post-clean checks
- Point source test for flare and ghosts
- Contrast test vs a known clean lens
- Aperture blade movement and oil check
- Focus calibration and infinity mark alignment
| Name | Best for | Key spec | Result | Latitude/Usability | Notes |
|---|---|---|---|---|---|
| DIY cleaning | Mild, accessible fungus | Surface-only work | Improved contrast | Good if patient | Risk of marks if rushed |
| Professional service | Internal/near aperture | Full teardown | Max optical recovery | High, tested | Warranty often available |
| Creative reuse | Etched or “ruined” glass | Character look | Dreamy flare/softness | Situational | Great for portraits/backlight |
Attribute ratings (0–5)
Indicative ratings to guide expectations; your skill, lens model, and storage choices matter most.
Prevent fungus returning: storage and maintenance
Get simple, high-impact storage habits that keep fungus from coming back.
Keep relative humidity low using a dry cabinet or sealed bin with fresh silica gel. Air lenses periodically; don’t leave them in dark, damp cases for months. Clean fingerprints promptly and rotate desiccant by indicator color.
- Target storage RH in the safe zone (mid-range protects lubricants)
- Use indicator silica packs; replace/regenerate on color change
- Store uncapped briefly after shooting in damp conditions
- Monthly quick inspection under bright light
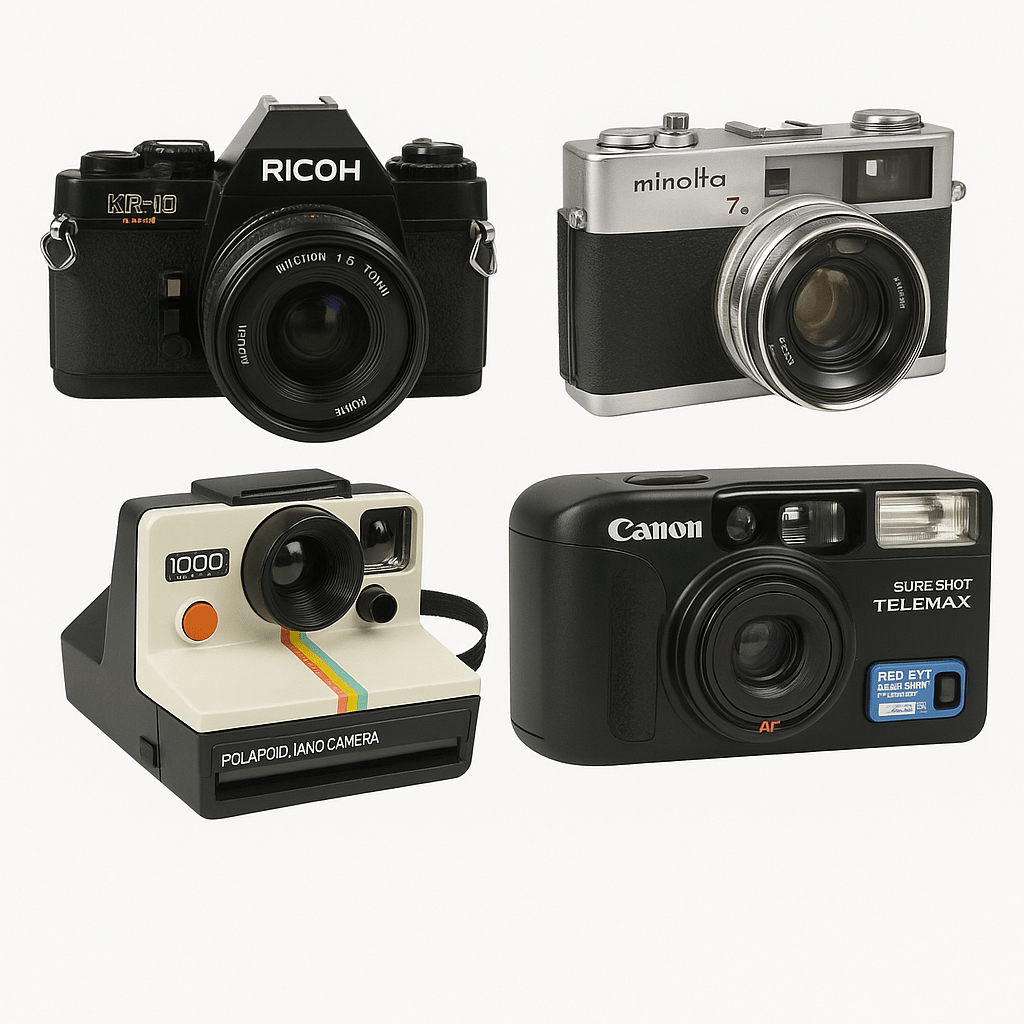
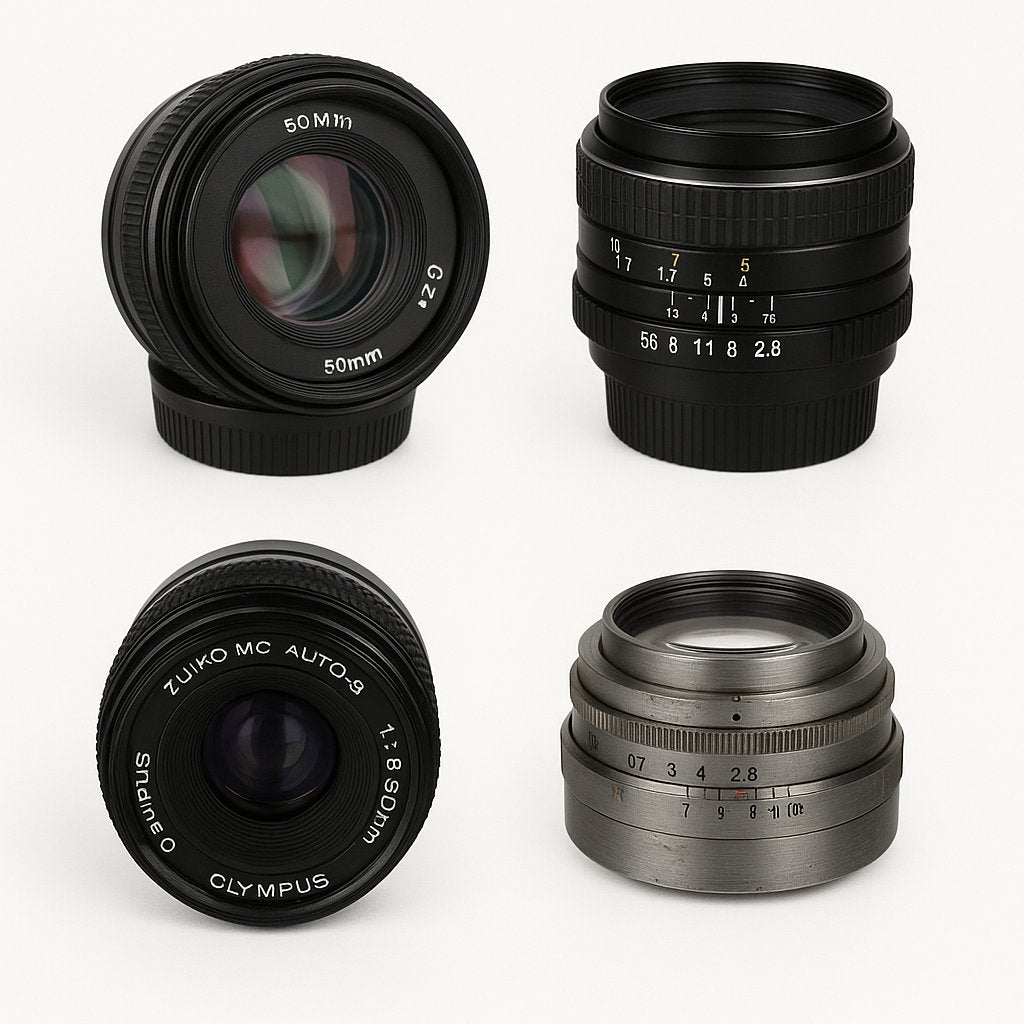
Need supplies? Explore lens care accessories to build a reliable home setup.
Creative reuse if etching remains: embracing the look
Learn how to turn “flaws” into character and plan shots that flatter etched glass.
Fungus-etched lenses can create lowered contrast, veiling flare, and unique bokeh—perfect for dreamy portraits or soft macro. Add a hood to tame stray light and bracket exposures to control contrast loss.
- Shoot a test series: wide open vs stopped down
- Use a lens hood to manage veiling
- Bracket exposures to tame contrast loss
- Keep a clean reference lens for comparison
Anecdote: One of my favorite backlit portraits came from a “ruined” 58mm—golden flare wrapped the subject in a way no filter could mimic.
If cleaning fails: repair, recycle, or replace sustainably
This section maps responsible next steps when recovery isn’t practical.
Seek a professional second opinion before giving up. Salvage usable parts—caps, hoods, mounts, screws. If it’s time to move on, trade in or recycle responsibly to avoid e-waste. Consider replacing with tested, fungus-free refurbished camera lenses to keep gear in circulation—especially for your vintage SLR film cameras.
- Document condition with photos for quotes
- Remove and keep reusable accessories (caps, filters)
- Package safely if shipping to a technician
- Explore certified pre-owned replacements
FAQs
Answers to common questions so you can act with confidence.
- Is DIY safe for removing fungus from an old lens?
- Yes—for mild, accessible growth on front/rear elements using proper tools and fluids. Avoid internal disassembly without experience; stop if you see coating lift or internal haze and consider a pro.
- How much does professional old lens cleaning cost in 2025?
- It depends on complexity and severity. Simple external cleans sit in lower tiers; internal growth near aperture or cemented groups falls into mid or higher tiers. Request an inspection-based estimate and ask about warranty.
- Will fungus permanently damage an old lens coating?
- It can. Cleaning removes growth, but etched coatings or pitting remain and may cause flare or contrast loss. The lens can still be useful, but it may not fully recover.
- What tools are needed for home fungus removal?
- A blower, lens tissues/microfiber, lens-safe fluid or high-purity isopropyl alcohol, cotton/PEC swabs, nitrile gloves, soft brush, a loupe or USB microscope, and a dry box/silica gel.
- How do I tell fungus from haze or balsam separation?
- Fungus shows thread-like or spotty patterns; haze is uniform fog; separation has rainbow/iridescent edges in cemented groups. Inspect with a bright light and loupe from multiple angles.
- Can UV light stop lens fungus?
- Brief, controlled UV exposure after cleaning can inhibit spores, but won’t fix etching. Avoid heat buildup; professional UV sterilization is safer and more consistent.
Ready for a clean start?
Browse refurbished lenses that are tested fungus-free and keep great glass in circulation.