


Learn how to confidently test a vintage lens for video performance—ensuring it delivers the cinematic character, reliability, and sustainability today’s filmmakers value.
Why Test a Vintage Lens Before Buying
This section shows why every careful filmmaker should test a vintage lens before investing.
Vintage lenses carry personality: distinctive bokeh, gentle contrast, and mechanical feel. Yet decades of use can alter these traits—tiny scratches, stiff focus rings, or misaligned glass can change performance completely. Testing ensures the lens matches your creative goals and avoids unwanted surprises once on set.

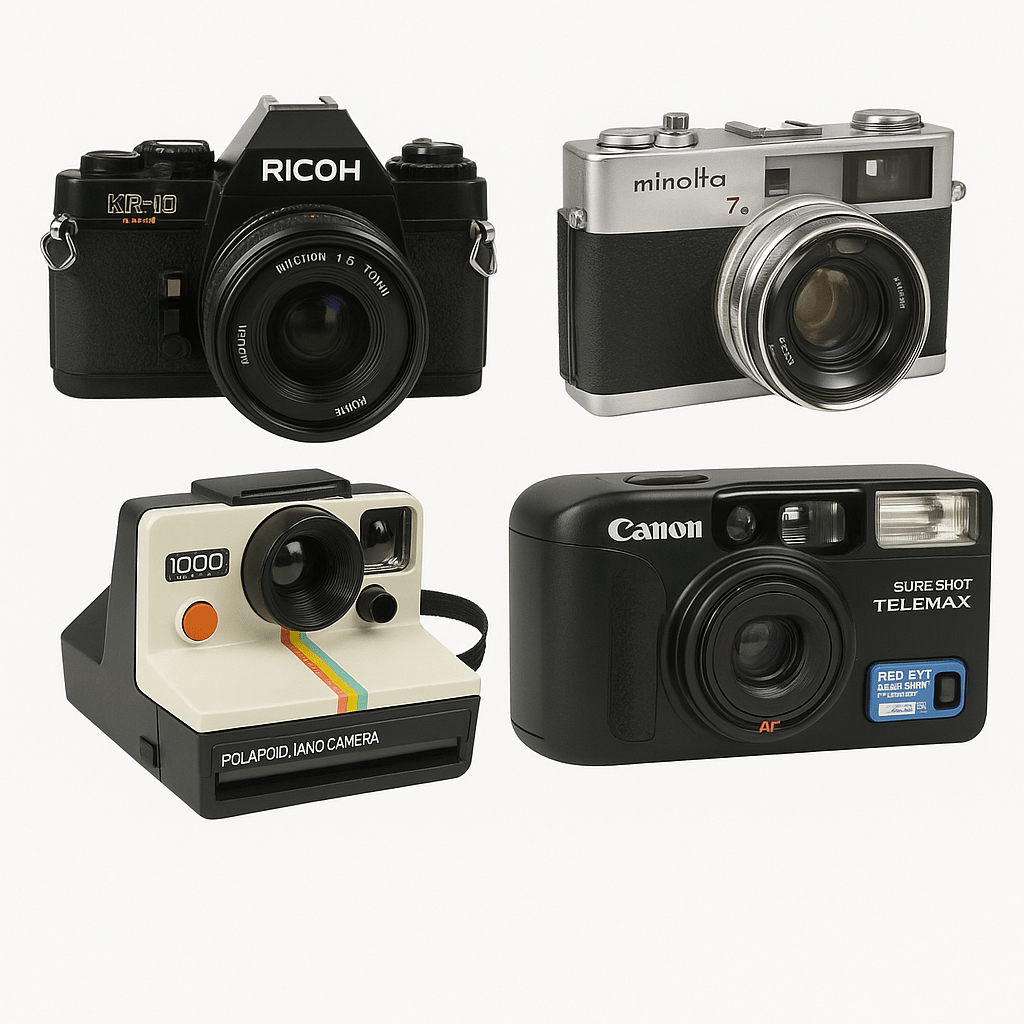
The first time I handled a vintage 50 mm lens from the 1970s, I expected dull results. Instead, it produced creamy highlights that wrapped subjects in a nostalgic softness—something modern optics rarely replicate.
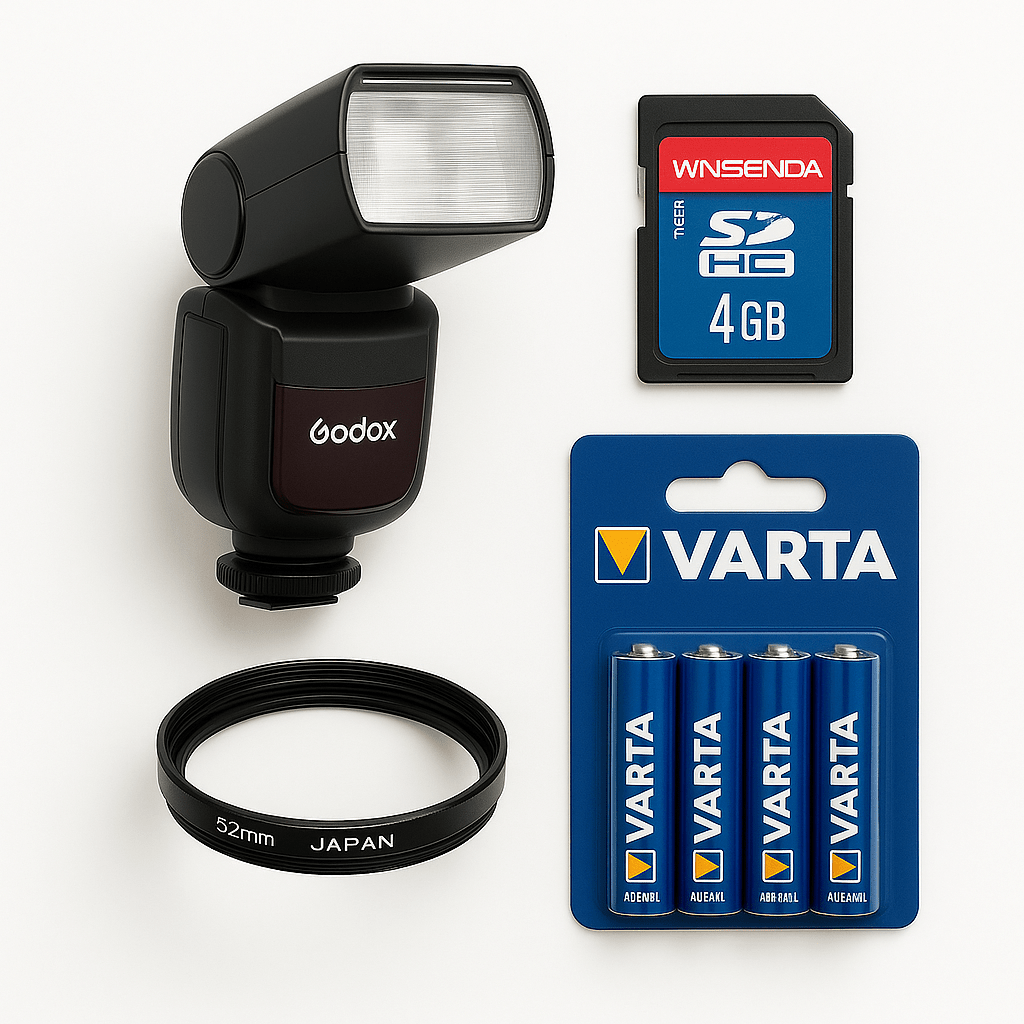
Essential Tools for Testing Vintage Lenses
Here's what you need to inspect a lens confidently and capture reliable test footage.

- Compatible camera or mount adapter
- Lens cleaning cloth
- Portable light source or flashlight
- Tripod for stable shots (optional)
- Memory card with room for test clips
Having the right adapter can save an entire test session. Once, an FD–E‑mount ring I kept in my bag turned a random flea‑market find into a 20‑minute impromptu test shoot—proof that preparation opens creative opportunities.
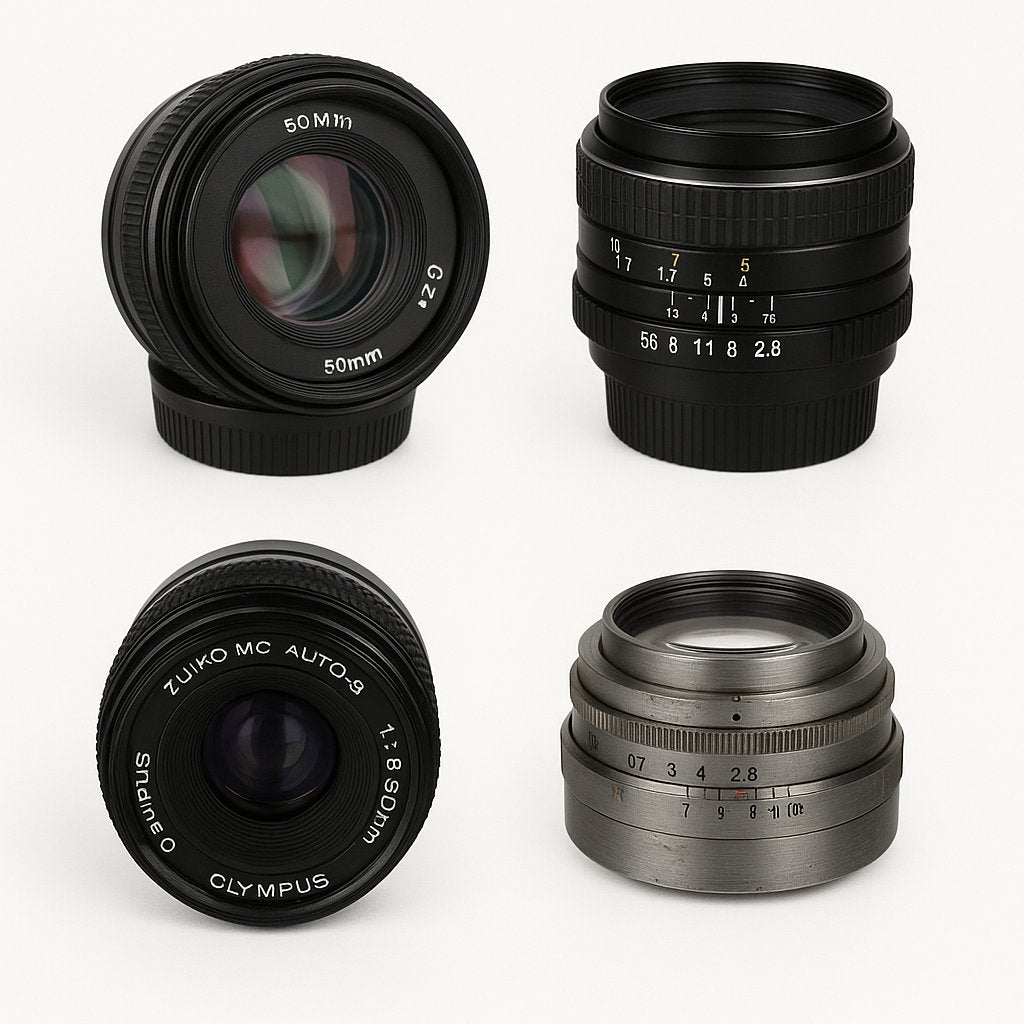
Step-by-Step: Optical Performance Checks for Video
This part guides you through evaluating a lens’s visual character directly in video mode.

- Mount the lens to your camera or with an adapter.
- Record short clips at different focal distances.
- Review for haze, fungus, or internal separation while adjusting focus.
- Test sharpness wide open, mid-aperture, and closed.
- Observe bokeh transitions and streaks when moving between subjects.
- Check for focus breathing, chromatic aberration, and flare patterns.
I once fell in love with the glow of a 35 mm lens until I noticed its strong focus breathing—every rack pull looked like a zoom. Beautiful, but unusable for narrative work.
Pros
- Characterful image rendering and natural warmth
- Manual control ideal for focus pulling
Cons
- Potential for optical defects without visible warning
- Inconsistent coatings increase flare risk
Mechanical and Handling Tests
This section teaches you how to check build quality and usability for smooth on‑set work.

- Rotate the focus ring fully both directions—listen for grit or stiffness.
- Open and close aperture blades—ensure no oil or lag.
- Check for loose screws, rattles, or worn mount threads.
A smooth manual focus changes everything. I still remember a freshly serviced 85 mm lens gliding like butter—manual pulls that finally matched my intended pace.
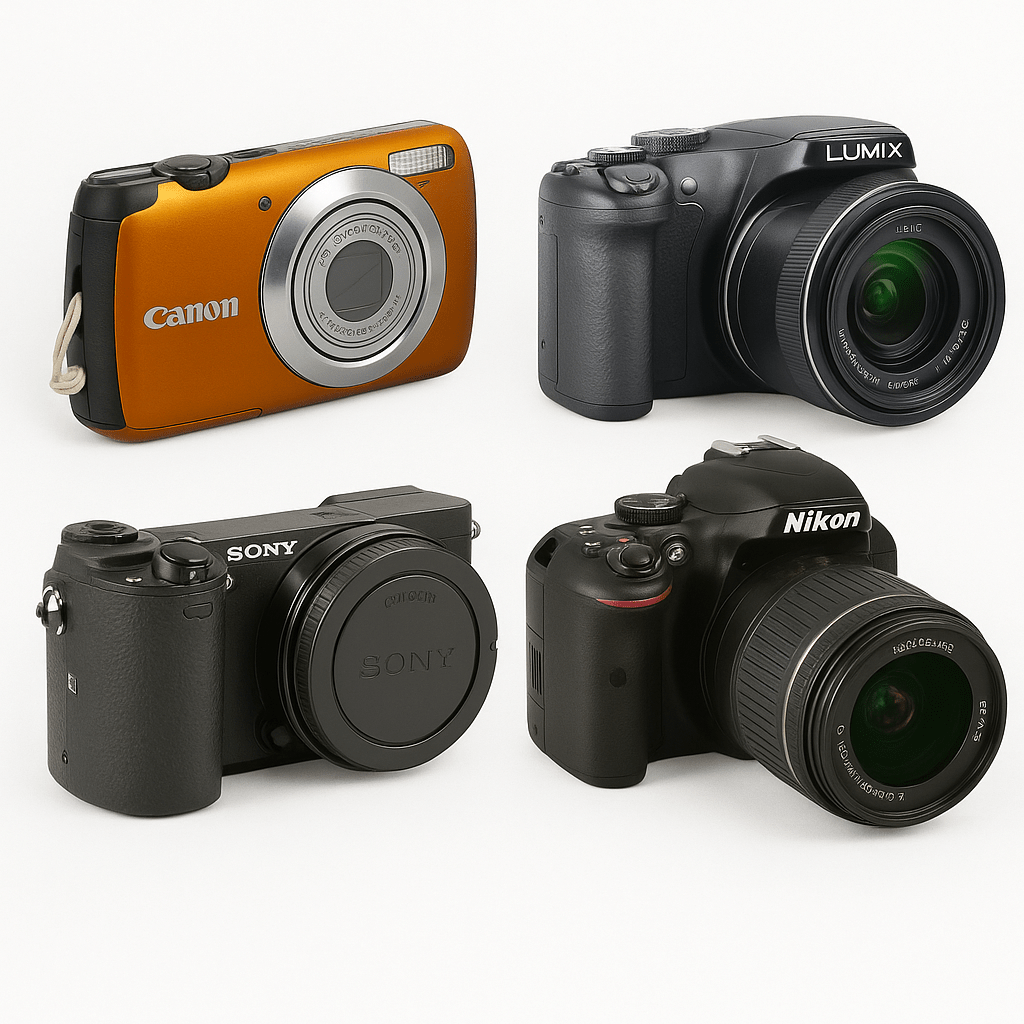
Choosing Adaptable Lenses for Modern Video Setups
This segment explains compatibility—how to know an old lens will fit your digital workflow.
Different mounts like M42, Canon FD, and Nikon F offer unique character, but not every lens pairs easily with every camera. Mirrorless systems with short flange distances make adaptation easier. Understanding mount type and crop factor ensures your image circle covers the sensor properly.
| Mount Name | Best for | Spec | Look/Result | Latitude/Usability | Notes |
|---|---|---|---|---|---|
| M42 Screw | Manual focus testing | Universal thread mount | Warm vintage tone | High—adapts to most bodies | Affordable, often smooth focus |
| Canon FD | Classic cine look | Flange 42 mm | Soft highlights, minimal distortion | Medium—adapter needed | Ideal for mirrorless systems |
| Nikon F | Hybrid digital + vintage shooters | Sturdy bayonet mount | Neutral rendering | High—most modern adapters available | Retains aperture control ring |
Once I realized my old Nikon glass paired cleanly with a mirrorless body using an inexpensive adapter, it felt like discovering a bridge between eras—a sustainable blend of nostalgia and innovation.
Final Checklist Before You Buy
This wrap-up helps confirm your decision before spending a cent.
- No visible damage or deep scratches on elements
- Even exposure across apertures
- Mount fits snugly and locks securely
- Footage reviewed—meets your creative expectations
I once nearly bought a lens with perfect optics but inconsistent aperture stops. Testing saved me the frustration of uneven exposure shifts halfway through a scene.
Quick Decision
- Documentary filmmakers: Prioritize lenses with smooth, damped focus rings for easy handheld control.
- Narrative shooters: Choose lenses with consistent color across a set—saves grading time.
- Run‑and‑gun creators: Opt for lightweight options with short focus throw.
- Experimental artists: Embrace optical flaws like swirl bokeh and flare for expressive visuals.
FAQs
- What is the best way to test a vintage lens for video work?
- Mount it to a compatible camera or adapter, record clips at several apertures and focus distances, and check footage for breathing, sharpness, and contrast.
- How can I check a vintage lens for optical issues before purchase?
- Shine light through the glass and inspect for haze or fungus. Record quick tests to see how color and flare behave.
- Which camera mounts work best with vintage lenses for filming?
- Mirrorless systems like Sony E or Micro Four Thirds are the most adaptable due to their short flange distances.
- What tools do I need to test a vintage lens for video?
- A versatile camera, mount adapter, portable light, microfiber cloth, and tripod handle 90% of on‑the‑spot tests.
- Why are vintage lenses popular for video?
- They deliver a softer, more cinematic image and tactile manual focus control rarely found in modern autofocus lenses.
Explore More
Ready to find your own classic glass? Explore our collection of tested vintage lenses ready for your next shoot. You can also browse digital cameras for testing footage to complete your setup.