


What Is Film Soup? A Beginner’s Snapshot
Film soup is the playful practice of soaking your exposed film in gentle household solutions before development to create unexpected color shifts, speckles, and textures. The soak happens after you’ve shot the entire roll and before it’s processed—never while the film is inside your camera. For anyone exploring beginner film soup techniques, think of it as controlled experimentation: unpredictable on a single frame, but surprisingly repeatable once you log your ingredients, time, temperature, and agitation.
Beginners love film soup because it’s low-cost, creative, and can be done with pantry items. It also pairs perfectly with a sustainable mindset: upcycle expired film, reuse glass jars, and learn on reliable second-hand gear. With care and notes, your “soups” become a library of looks you can revisit and refine.
Safety First: Protect Your Camera and Yourself
Safety is the heart of safe film soup. Keep all liquids away from cameras and lenses. Only soup your film after you’ve finished the roll, and dry it thoroughly before development. Stick to mild, diluted ingredients. Avoid bleach, strong acids or bases, solvents, and high heat—those can destroy the emulsion and put you at risk. Wear gloves, protect your eyes, ventilate your workspace, and label every container clearly so nothing gets mixed up.

Quick safety checklist
- Finish shooting the roll before any liquid touches it
- Gloves, eye protection, and good ventilation ready
- Mild, diluted solutions only (no harsh chemicals)
- Use warm—not hot—water (about 30–40°C / 86–104°F)
- Rinse thoroughly and dry negatives 24–48 hours
- Label canister: “souped, fully dry” for lab
- Keep souped film gear separate from regular dev gear
Step-by-Step: Your First Film Soup (Simple Method)
Start with an inexpensive 35mm color negative (C-41) roll. Shoot the whole roll normally, then choose a mild recipe such as diluted citrus with a pinch of salt. Prepare a clean, labeled glass jar for your solution.

Method A: Sealed canister soak (easiest, lab-friendly)
Submerge the sealed 35mm canister in your solution for 10–30 minutes. Agitate gently a couple of times. The solution seeps through the felt light trap, giving you mild, often speckled effects. Rinse the canister in clean water, then crack it open only after drying if you plan to home process; for lab processing, dry the sealed canister thoroughly before sending.
Method B: Controlled soak on a reel (needs a changing bag)
In total darkness (or a changing bag), open the canister and load the film onto a reel. Place the reel in a lidded container with your solution and soak, agitating gently. Rinse in clean water, finish with an optional wetting agent, and hang to dry completely before development. This method offers stronger and more even effects but requires dark handling.
Record your variables—ingredients, ratios, time, temperature, and agitation—so you can reproduce your favorite looks or adjust safely.
A quick first-time anecdote
I’ll never forget cracking open my first fully dried, souped canister. A faint citrus-clean smell puffed out—equal parts lemon and curiosity. I was hoping for warm beachy tones with tiny salt freckles, the kind of summer haze that makes sunsets feel longer than they were. That roll wasn’t perfect, but the peach-glow highlights told me I was on the right track.
Beginner-Friendly Film Soup Recipes (What They Do)

- Citrus + pinch of salt + warm water: Warm tints and mild speckling. Soak 10–20 minutes with gentle agitation.
- Tea or coffee + drop of mild dish soap: Subtle brown/sepia shifts and softened grain. Soak 15–30 minutes.
- Very diluted vinegar + a drop of detergent: Pastel washes with unpredictable streaks. Soak 5–15 minutes; keep vinegar very mild.
Tips: Start short and cool; increase time or warmth only after you review results. Avoid boiling water and harsh cleaners—your negatives (and lungs) will thank you.
Best Films and Gear for First-Time Soupers
Film choice matters. Inexpensive 35mm color negative (C-41) stocks at ISO 200–400 are forgiving and scan well. Avoid slide (E-6) and specialty films until you’re confident; instant film isn’t suited to pre-development soaking.
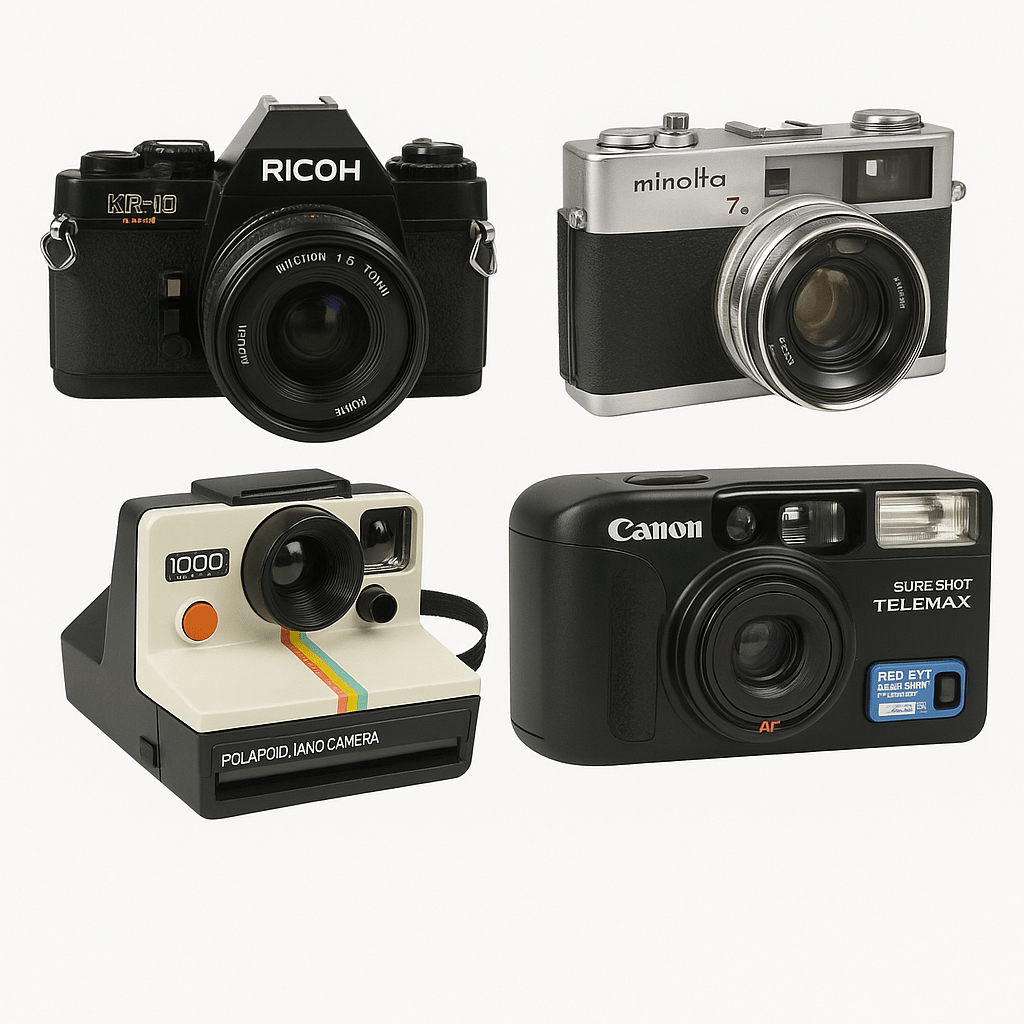
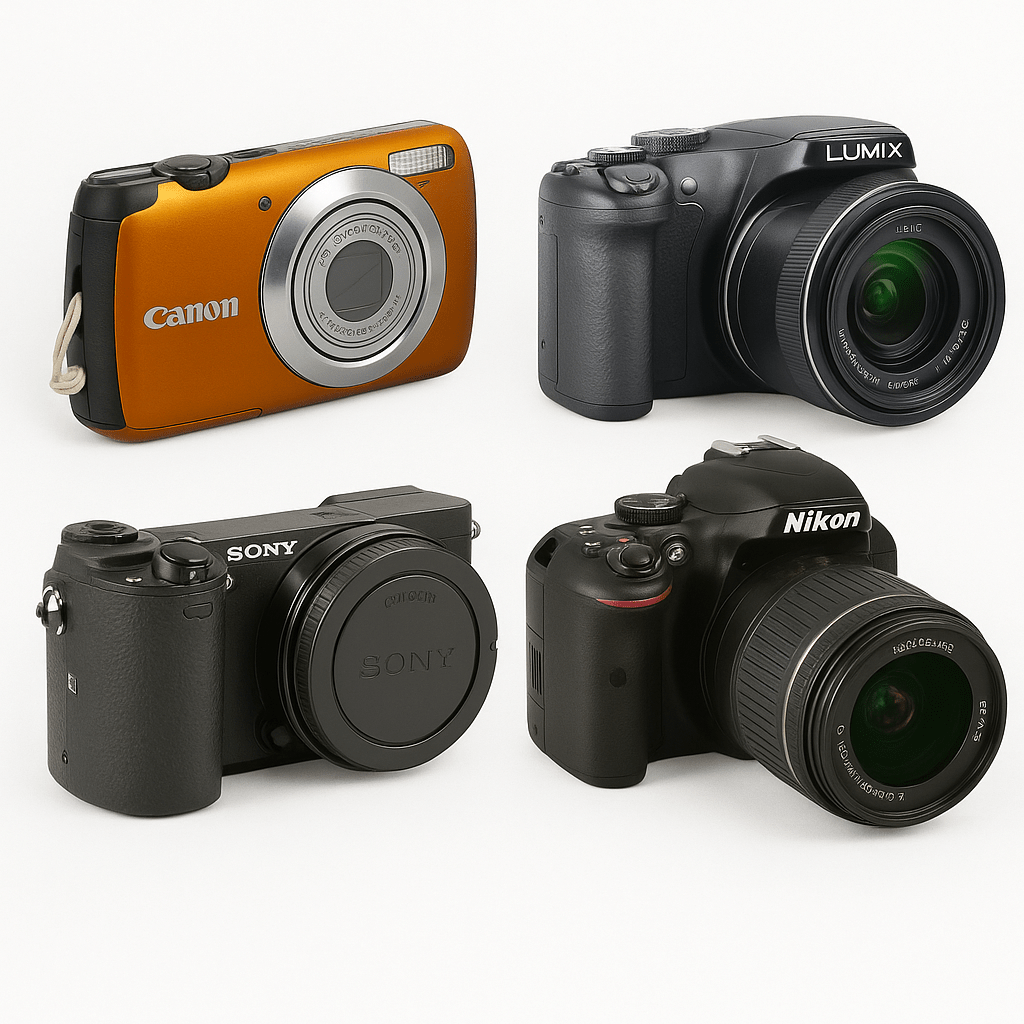
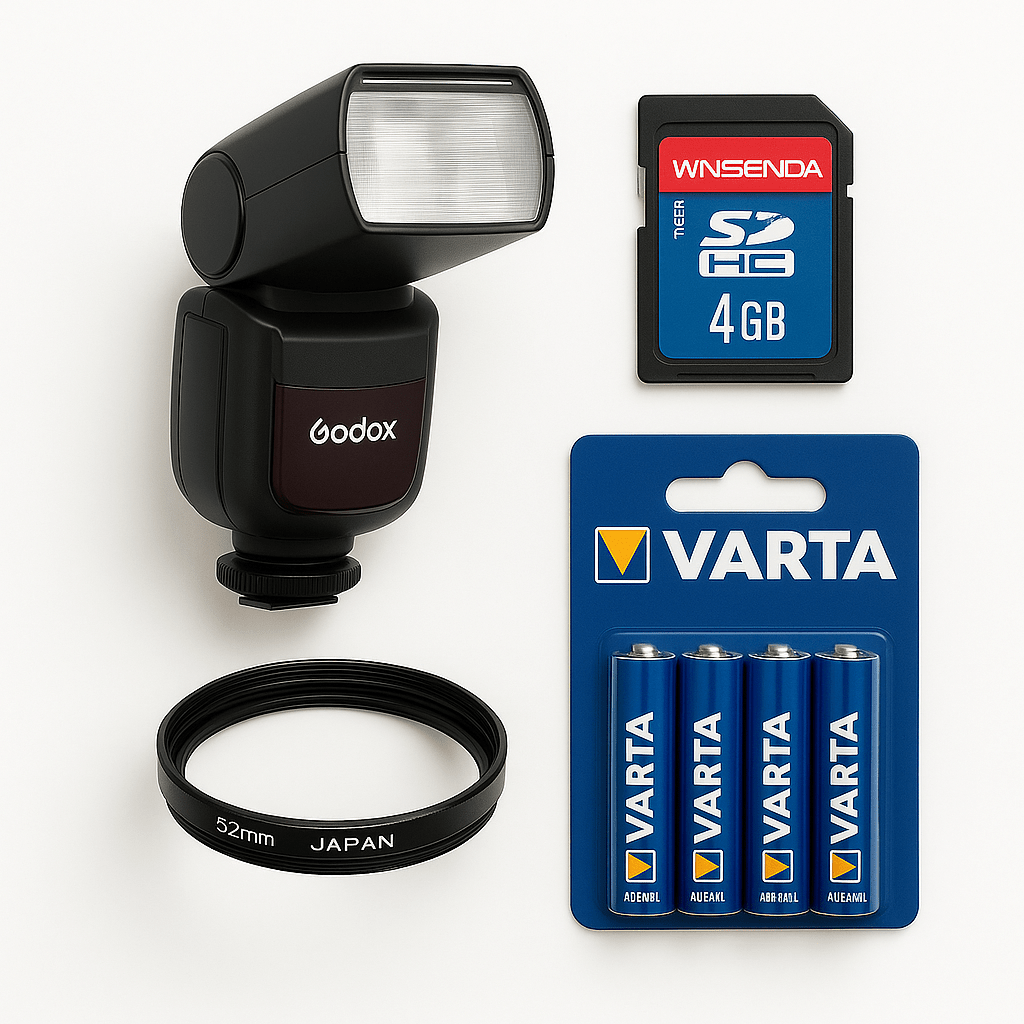
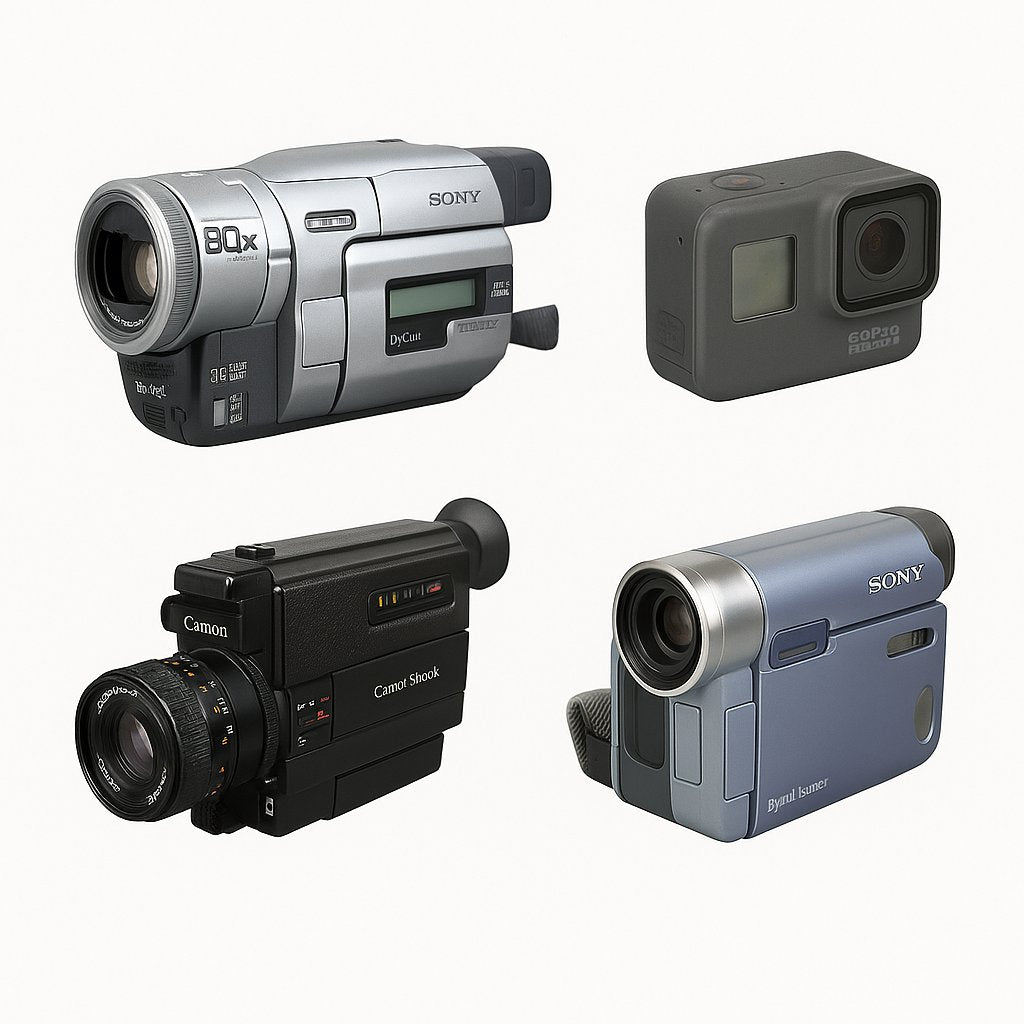
Helpful gear includes a changing bag, a spare reel/tank dedicated to souped film, a thermometer, labels, and a soft squeegee or clean microfiber cloth. Any simple second-hand 35mm SLR or point-and-shoot works—reliable and affordable is ideal while you learn. If you’re shopping, explore our selection of used SLR film cameras or browse affordable point-and-shoot film cameras. For tools like bags, reels, and clips, see our photography accessories like changing bags and reels.
Getting It Developed: Lab vs Home
Labs vary. Call first and ask whether they accept souped film. Many do if it’s completely dry and clearly labeled. Be transparent about ingredients, confirm their policy, and expect a disclaimer. If the lab declines, save that roll for a soup-friendly lab or process at home.
Home processors should keep a dedicated reel and tank for souped film to prevent residue transfer. Before scanning, clean the film gently; if residue confuses infrared dust removal, try manual dusting and multiple-exposure scans to recover detail.

Beginner Techniques Reviewed: Pros, Cons, and Use Cases
- Sealed canister soak: Safest for light control; subtler effects; easy cleanup.
- Changing bag soak on reel: Stronger, more even effects; requires dark handling and extra gear.
- Short soaks at warm temps: Lower risk; great first attempt.
- Longer soaks or warmer temps: Stronger shifts; higher risk of sticky emulsion—advance gradually.
Creative Ideas to Inspire Your First Soups
Theme your soup to match your subject: citrus for sunlit beach days, tea for moody street scenes. Try partial dips for gradient effects, or combine with double exposures and deliberate light leaks to stack creative layers. Keep a “soup diary” with ingredients, times, temps, and frames you loved—iterate sustainably without wasting materials.
A short story to spark ideas
I planned a citrus soup roll for a late-afternoon boardwalk session. Golden storefronts, neon signs warming up at dusk, and orange-pink skies—the goal was to amplify heat and nostalgia. When the scans came back, crosswalks glowed peach, and sea foam picked up honey tones. It was exactly the sunkissed mood I’d hoped for.
Troubleshooting: Sticky Emulsion, Flat Colors, Lab Rejection
- Sticky emulsion: You likely overheated or soaked too long. Next time, reduce time/temperature; extend the clean-water rinse and let it dry slower.
- Flat or murky results: Detergent may be too strong or agitation too vigorous. Dilute more and agitate less.
- White crystal spots: Salt dried on the film. Filter your solutions and rinse thoroughly with clean water.
- Lab rejects your roll: Offer a fully dry, clearly labeled replacement; find a soup-friendly lab; or home process with dedicated gear.
What to Buy: Beginner Film Soup Kit (No-Nonsense)
Keep costs and waste low by starting second-hand. Build a core kit that keeps your regular film gear safe from residue and your workspace organized.
Essentials checklist
- Changing bag and dedicated reel/tank for souped film
- Thermometer (room-to-warm range)
- Reusable glass jars with lids + labels
- Nitrile gloves and eye protection
- Soft microfiber or film squeegee
- Wetting agent (optional) and clean drying space
- Affordable 35mm color negative film (ISO 200–400)
Round out your setup with a reliable used 35mm camera you don’t mind experimenting with, and consider reusing jars and funnels dedicated to souping to keep things tidy and sustainable.
FAQs
What is film soup for beginners?
It’s soaking exposed film in mild solutions before development to create color shifts and textures. You do it after shooting, before processing, with safety top of mind.
How do you start film soup techniques?
Shoot a test roll; pick a mild recipe; soak the sealed canister 10–30 minutes; rinse; dry 24–48 hours; confirm lab acceptance; log your variables.
Is film soup safe for cameras?
Yes—if you only soup after shooting and keep liquids away from your camera. Never load wet film. Consider practicing with a budget second-hand camera.
Which films work best for beginner film soup?
Inexpensive 35mm color negative (C-41) films at ISO 200–400. Avoid slide (E-6) and specialty stocks until you’re confident.
Can I send souped film to any lab?
Call first. Some accept souped rolls if they’re fully dry and clearly labeled with ingredients; otherwise, use a soup-friendly lab or process at home.
How long should I dry film after souping?
At least 24–48 hours in a dust-free space until bone dry. Wait longer if you used thicker solutions.
What ingredients are safe to try first?
Diluted citrus with a pinch of salt, tea or coffee with a drop of dish soap, or very diluted vinegar. Avoid bleach, strong acids/bases, and high heat.
Do I need special equipment?
No, but a changing bag, spare reels/tank, a thermometer, and labels help. Second-hand gear works perfectly.
Will film soup ruin my negatives?
There’s always risk. Start mild, keep times short and temps warm—not hot. Test on cheap film and adjust gradually.
Grab the essentials: shop photography accessories for film soup.