


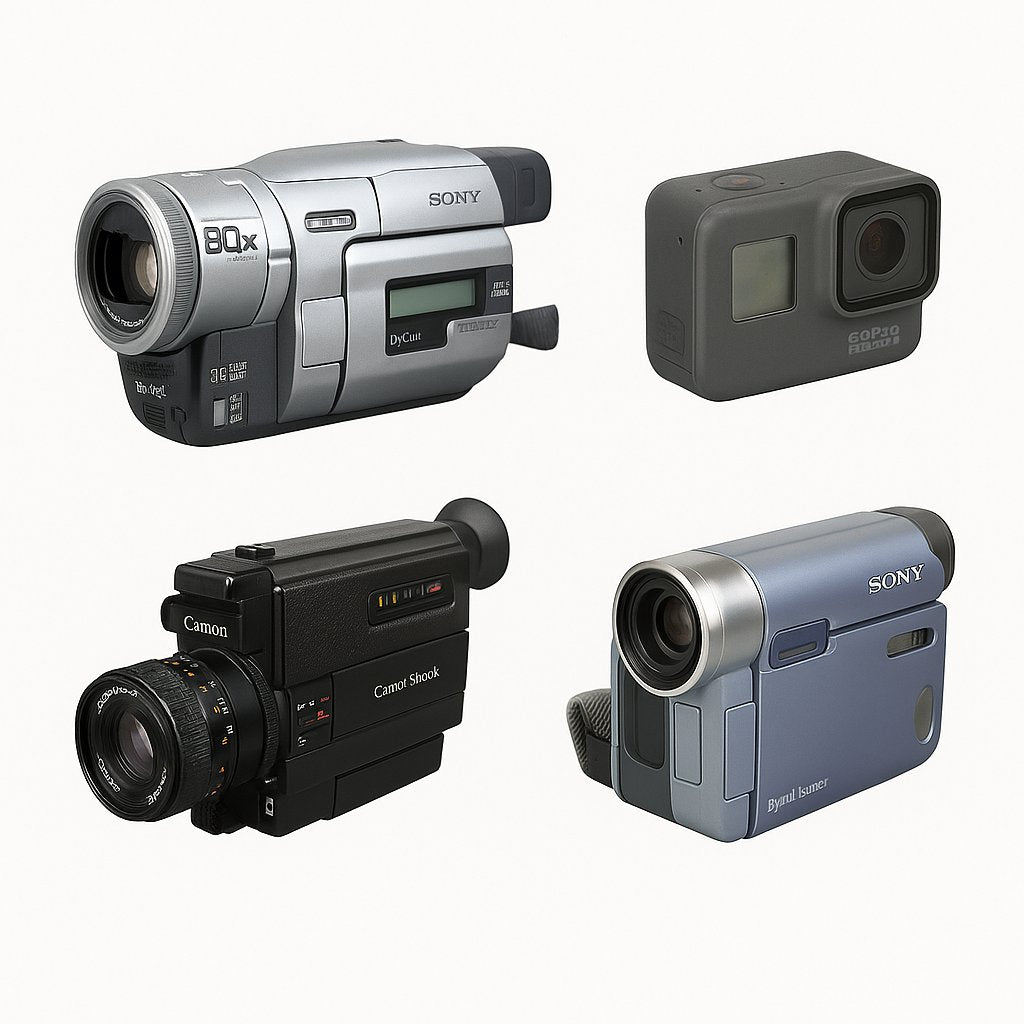
Why Hybrid Photography Keeps Growing
This section explores why more photographers are blending analog emotion with digital efficiency.
There’s something irresistible about a film roll—the tactile click of a shutter, the suspense of unseen frames. Yet in an era where moments demand to be shared instantly, purely analog processes can feel slow. The hybrid film to digital workflow bridges both worlds, merging timeless color science and grain with immediate online visibility.
Social media has amplified film’s revival. Viewers crave visual authenticity—tones that feel organic, imperfect, and real. Hybrid methods make it possible to deliver that aesthetic without waiting days or weeks to share results.

I remember shooting an early morning cityscape on film and feeling frustrated that I couldn’t post it until I developed the roll. A quick experiment using my digital camera to photograph the negative changed everything—I had a shareable preview within minutes.
Core Elements of a Fast Hybrid Workflow
Learn how to set up a smooth system from camera choice to sharing—focused on speed and consistency.
Your hybrid setup depends on two key tools: a trusty analog camera and a reliable digitization method. Choose film cameras that play well with modern scanning gear—think clean frame gates and light-tight seals. After developing your negatives, you’ll use either a film scanner or a digital camera setup to digitize the frames.
Workflow checklist
- ✅ Fresh film roll loaded and ready
- ✅ Access to a reliable film scanner or digital camera setup
- ✅ Clean workspace for digitizing film
- ✅ Editing software prepared for color correction
- ✅ Cloud sync or sharing app installed for fast upload

Pros
- Maintains tactile shooting experience while enabling quick output.
- Keeps creative control over film and digital stages.
Cons
- Requires more equipment and workspace setup.
- Time management essential to stay efficient.
My first attempt at scanning film was slow because I hadn’t set up proper lighting and alignment. Once I standardized those elements, my speed tripled.
Tools and Techniques for Quick Digitization
Get practical comparisons between scanning options and discover shortcuts for a faster film to digital process.
You can digitize film with a dedicated scanner or a camera-based setup. Flatbed scanners are easy to use but slower. DSLR duplicators are faster and deliver high dynamic range—ideal if you already have a macro lens.

| Name | Best for | ISO/Spec | Look/Result | Latitude/Usability | Notes |
|---|---|---|---|---|---|
| Flatbed Scanner | Archival projects | 3200 dpi typical | Neutral tones | Good, slow setup | Affordable, steady results |
| DSLR/Mirrorless Duplicator | Speed-focused creators | RAW 24–45 MP | Dynamic range control | Excellent, manual tweaks | Best paired with light table |
| Mobile Scanning App | On-the-go previews | Phone Sensor | Quick social-ready output | Fair, fast results | Ideal for proofing on set |
Pros
- Camera-based scanning maximizes speed and resolution.
- Flatbeds remain dependable for bulk archival projects.
Cons
- DSLR setups demand alignment discipline.
- Mobile scans sacrifice depth for immediacy.
A photographer friend once showed me how a small LED light pad sped his scanning up by half a day. That trick now lives permanently in my workflow.
Editing and Sharing Film Shots Online
Learn how to polish your digitized images while retaining that soulful analog edge.

Once you’ve digitized negatives, invert them into positives using editing software or specialized plug-ins. Make subtle adjustments to exposure and color—avoid flattening the film personality. For social sharing, tone consistency matters more than perfection.
- Convert negatives in a non-destructive workflow.
- Use slight curve corrections to match scanning light temperatures.
- Apply minimal sharpening; film grain is part of the magic.
- Save exports in web-friendly dimensions.
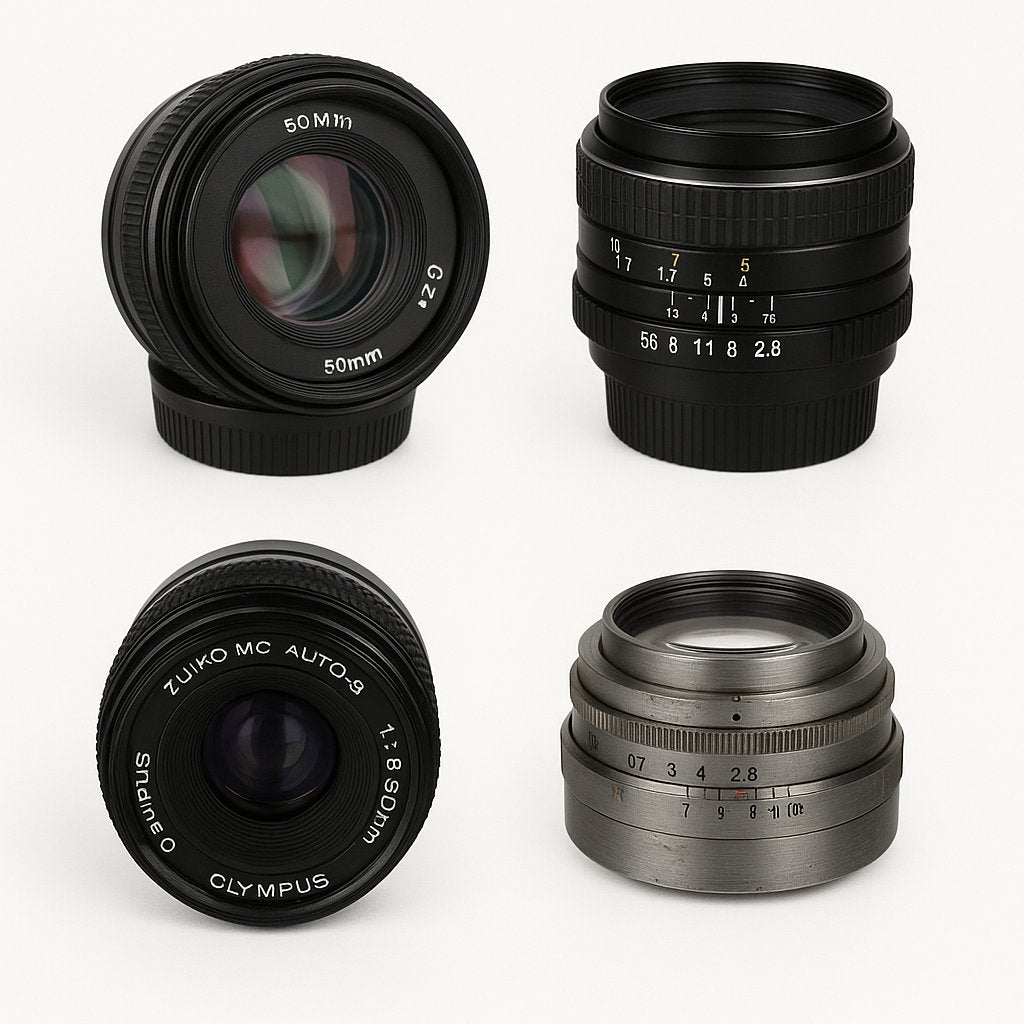
One of my most engaged posts was a grainy film portrait where I wrote about the scanning setup and old lens used. Transparency creates connection in your social feed.
Hybrid Workflow Gear to Explore
Find sustainable gear that empowers a smooth hybrid photo workflow and supports your creative rhythm.
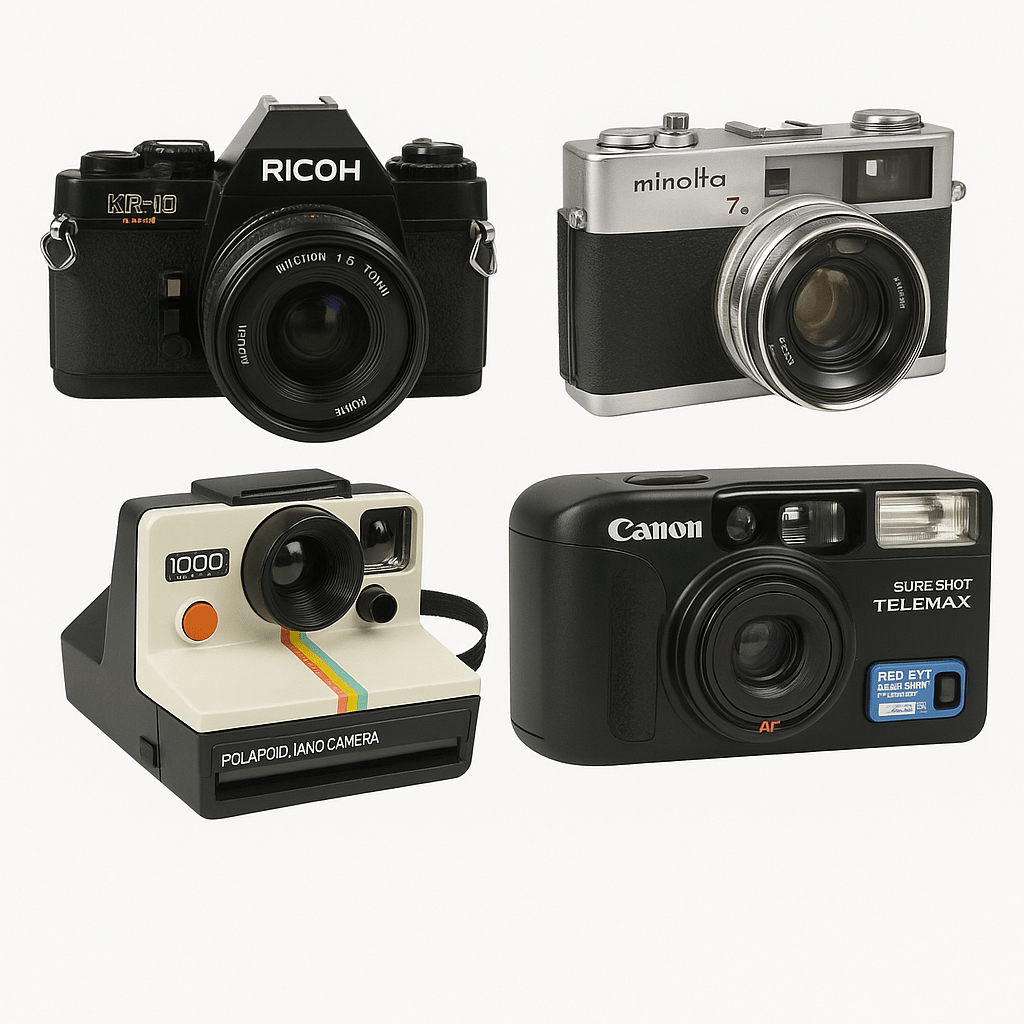
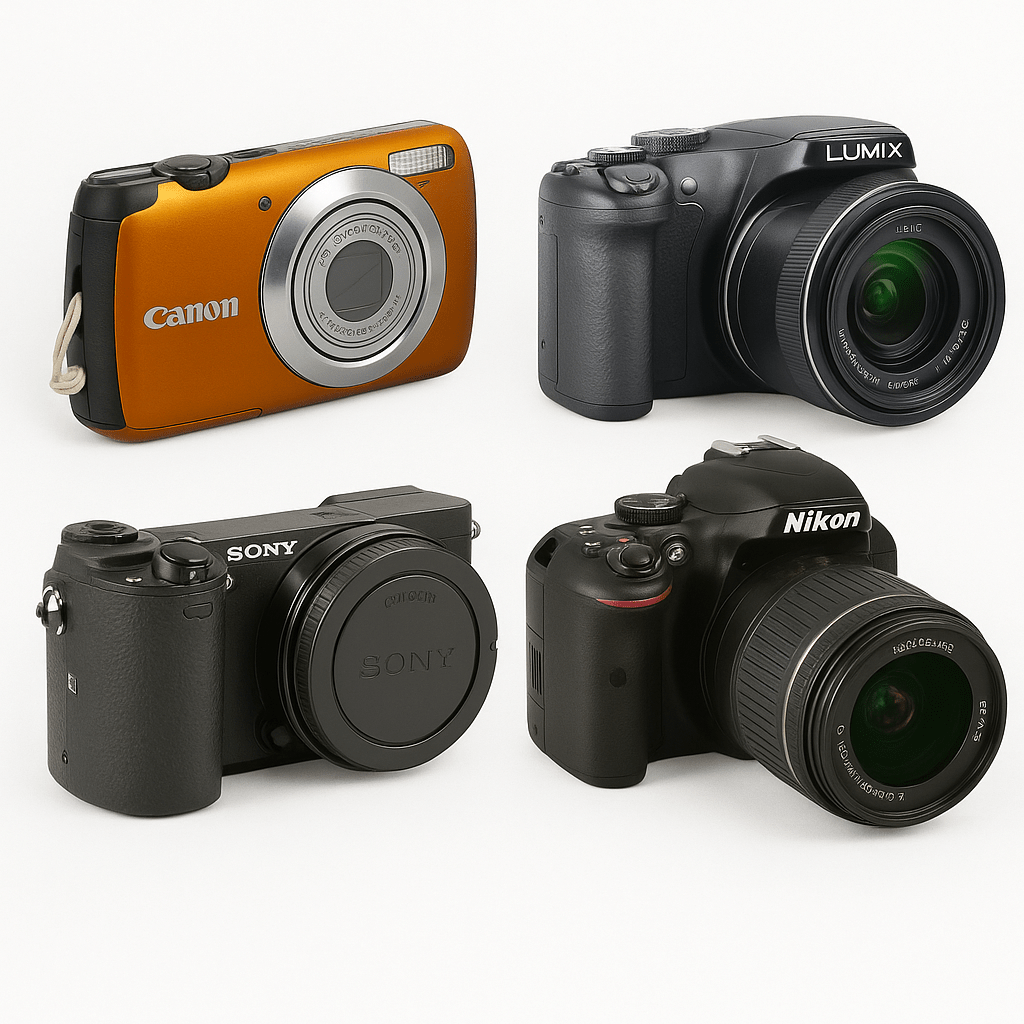
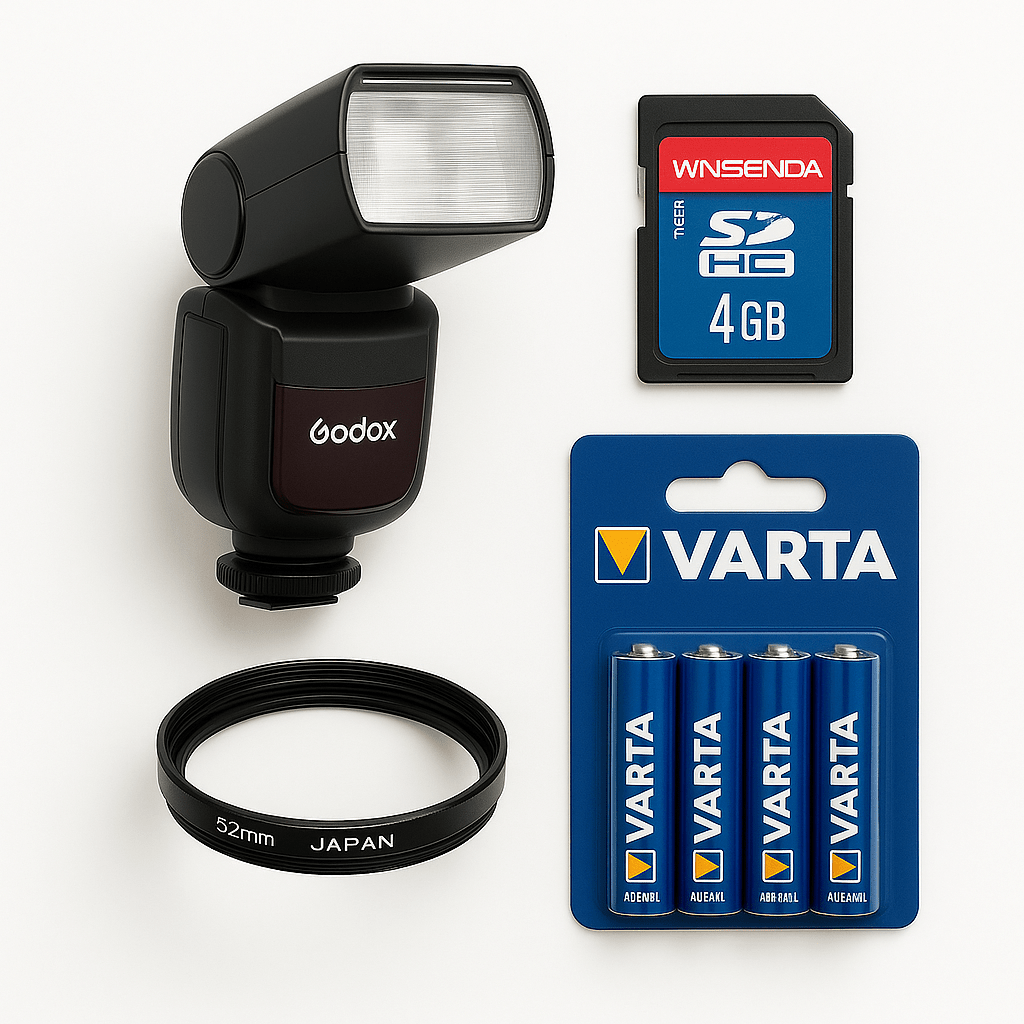
Building your kit doesn’t have to mean buying new. You can explore analog cameras or find digital cameras suited for scanning through reconditioned sources that extend gear life. Add key accessories like macro lenses, tripods, and light tables from our browse photography accessories for digitizing film collection to complete the workflow.
- ✅ Analog camera body (SLR or rangefinder)
- ✅ Macro-enabled digital camera or scanner
- ✅ Steady lighting setup for digitizing
- ✅ Editing software with RAW and film profile support
Pros
- Second-hand gear reduces waste while serving professional results.
- Multiple camera types foster creative experimentation.
Cons
- Vintage gear might need minor calibration.
- Balancing multiple devices requires workflow planning.
Upgrading to a stable tripod and macro lens combination completely transformed my scanning quality; it’s now my fastest conversion step.
Quick Decision: Pick Your Path
- Purist Film Shooter: Flatbed scanning preserves tonal integrity—ideal for archival prints.
- Fast Hybrid Creator: DSLR duplicator setup delivers high-resolution output quickly.
- Mobile Storyteller: App scans give instant shareable previews in field conditions.
- Sustainable Minimalist: Second-hand gear keeps your footprint light without sacrificing performance.
FAQs
What is a hybrid film-to-digital workflow?
A hybrid workflow combines shooting on film with digital scanning, editing, and sharing. It preserves film aesthetics while enabling quick digital output.
How can I speed up scanning film rolls?
Use camera-based scanners or dedicated film scanners, maintain consistent lighting, and organize batch processing to reduce repetition.
Which camera suits fast hybrid workflows?
Compact SLRs and mirrorless cameras with tethering options work well. For scanning, a high-resolution DSLR or mirrorless body paired with a macro lens is ideal.
How to edit film photos for social media?
After digitization, adjust exposure and color minimally to retain authenticity. Export in web-friendly formats and add descriptive captions or hashtags.
Can I mix film and digital content in one social feed?
Yes—consistent tone and storytelling can make both formats feel cohesive. Highlighting the process itself often boosts engagement.
Next Steps
Build your film-to-digital kit today with sustainably sourced gear. Start your next creative cycle where analog texture meets digital reach—and share your hybrid vision faster than ever.